
Are you a Windows 11 user who is constantly in need of taking screenshots for work, school, or personal use? Look no further, because we’ve got you covered! In this blog post, we’ll walk you through the step-by-step process of taking a screenshot on your Windows 11 device. From locating the Snipping Tool to saving or copying the screenshot, we’ll cover it all. Whether you’re a beginner or just need a refresher, these instructions will have you capturing images with ease in no time. So, grab your Windows 11 device, and let’s dive into the world of screenshots together. Whether you’re looking to capture an entire screen or just a specific area, we’ve got the tips and tricks to help you become a screenshot pro in no time. Let’s get started!Learn how to easily use the Snipping Tool app to capture and save screenshots on your Windows computer. Step-by-step guide for beginners!
Locate Snipping Tool
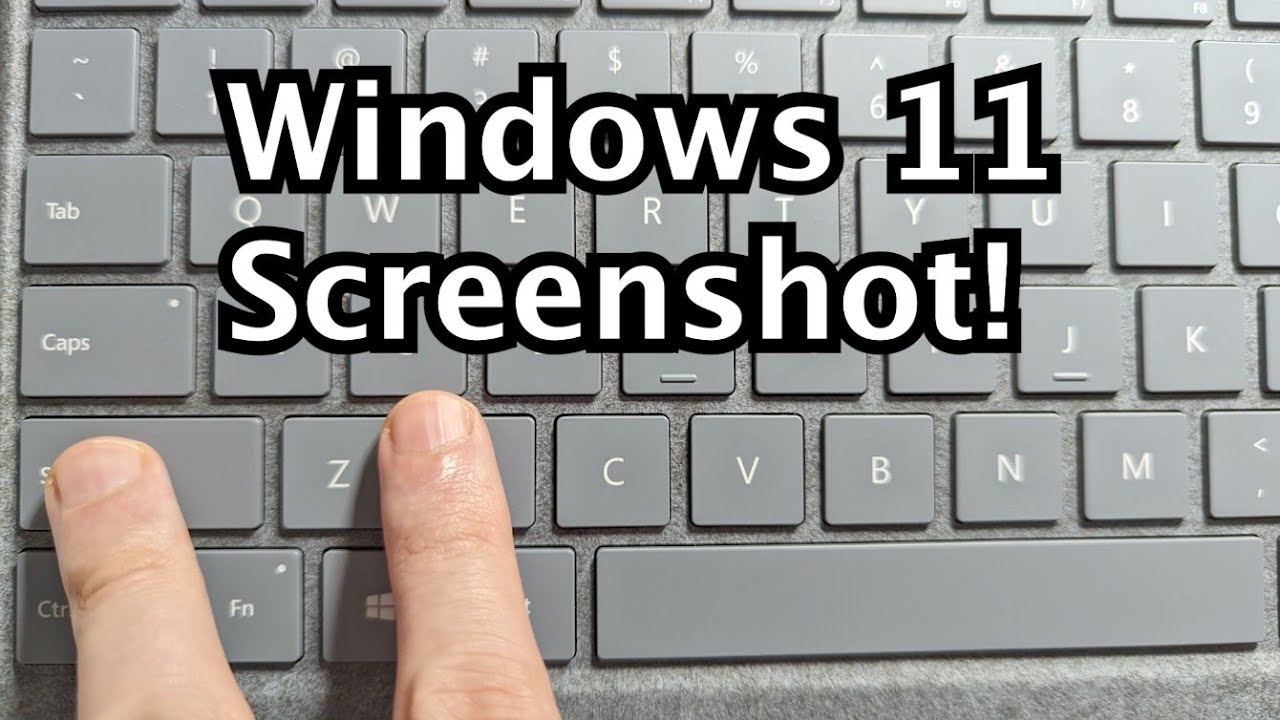
How to take a screenshot on Windows 11
If you’re looking to take a screenshot on your Windows 11 PC, the first step is to locate the Snipping Tool app. You can easily find this useful tool by typing Snipping Tool into the search bar located on the taskbar. Once you have located the Snipping Tool app in the search results, simply click on it to open the program.
Alternatively, you can also access the Snipping Tool by navigating to the Windows Accessories folder in the Start menu. From there, you’ll be able to find the Snipping Tool and open it to begin taking screenshots on your Windows 11 device.
Open Snipping Tool app
One way to take a screenshot on Windows 11 is by using the Snipping Tool app. To open the Snipping Tool app, you can simply type Snipping Tool in the search bar and then select the app from the search results. Alternatively, you can also navigate to the Windows Accessories folder in the Start menu and find the Snipping Tool app there.
Once you have located the Snipping Tool app, you can click on it to open the app and start taking screenshots of your desired areas on the screen. The Snipping Tool app provides various options for capturing screenshots, such as free-form snip, rectangular snip, window snip, and full-screen snip.
Select New option
Once you have opened the Snipping Tool app on your Windows 11 computer, you will need to proceed by selecting the New option. This can be done by clicking on the arrow next to the New button to reveal the drop-down menu. Alternatively, you can also use the keyboard shortcut Alt + N to select the New option.
After selecting the New option, your screen will turn white, and your cursor will turn into a crosshair. This indicates that the Snipping Tool is now ready for you to select the desired area of your screen to capture. You can now move your cursor to the area you want to capture and click and drag to create a rectangular snip. Once you have selected the area, release the mouse button to capture the screenshot.
Choose the desired area
Once you have opened the Snipping Tool app on your Windows 11 PC, you can proceed to select the area of the screen that you want to capture. In the Snipping Tool window, click on the New option to initiate the screenshot process. This will dim the entire screen and allow you to select the specific area that you would like to capture.
After the new snip is created, you can choose the desired area by simply clicking and dragging your cursor to form a rectangular or square shape around the content you wish to capture. Release the mouse button to confirm your selection. The chosen area will then be displayed within the Snipping Tool window, ready for further action such as saving or copying the screenshot.
Save or copy the screenshot
After you have selected the desired area for your screenshot, you have the option to either save or copy the screenshot. To save the screenshot, simply click on the floppy disk icon in the Snipping Tool app. This will prompt you to choose a location on your device to save the screenshot. You can also choose the file format in which you want to save the screenshot, such as JPEG or PNG.
If you prefer to copy the screenshot to your clipboard instead of saving it as a file, you can click on the Edit menu in the Snipping Tool app and select Copy from the dropdown menu. This will copy the screenshot to your clipboard, and you can then paste it into a document, image editing software, or any other application where you want to use the screenshot.
| Saving a screenshot | Copying a screenshot |
|---|---|
| To save the screenshot, click on the floppy disk icon in the Snipping Tool app and choose a location and file format to save it. | To copy the screenshot, click on the Edit menu in the Snipping Tool app and select Copy from the dropdown menu. |
Frequently Asked Questions
1. How do I take a screenshot on Windows 11?
You can take a screenshot on Windows 11 by pressing the Windows key + Shift + S. This will open the snipping tool, allowing you to select the area you want to capture.
2. Can I capture the entire screen in one screenshot on Windows 11?
Yes, you can capture the entire screen in one screenshot on Windows 11 by simply pressing the PrtScn (Print Screen) key.
3. Where are the screenshots saved on Windows 11?
The screenshots taken using the snipping tool are automatically saved to the Clipboard. You can paste them into a document or image editing software.
4. Is there a shortcut to take a screenshot of a specific window on Windows 11?
Yes, to take a screenshot of a specific window on Windows 11, press Alt + PrtScn. This will capture the active window only.
5. Can I customize the keyboard shortcuts for taking screenshots on Windows 11?
Yes, you can customize the keyboard shortcuts for taking screenshots on Windows 11 by going to Settings > Keyboard > Print Screen.
6. Are there any third-party apps for taking screenshots on Windows 11?
Yes, there are several third-party apps available for taking screenshots on Windows 11, such as Snagit, Greenshot, and LightShot.
7. How do I take a screenshot of a specific area on the screen on Windows 11?
To take a screenshot of a specific area on the screen on Windows 11, press Windows key + Shift + S, then click and drag to select the area you want to capture.